
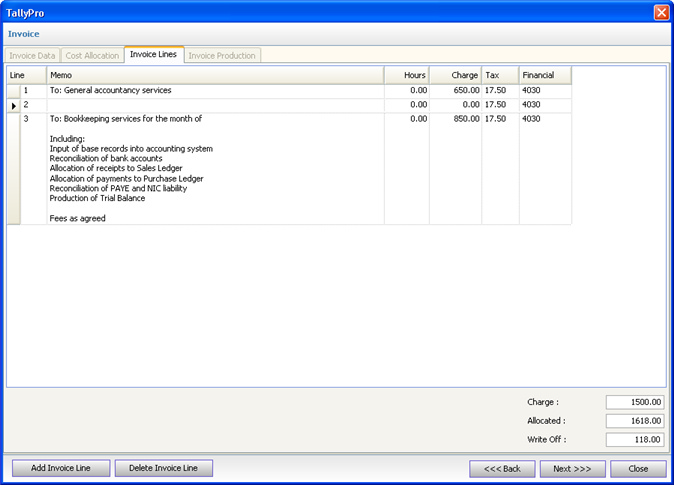
This screen shows the lines that will be shown on the invoice.
If the third option (Populate Invoice With Allocated Costs) had been selected on the Cost Allocation tab, these line would have been pre-populated with the selected rows from the Cost Allocation grid. Otherwise invoice lines will have to be manually created.
To add a new invoice line, click on the 'Add Invoice Line' button. This will display the New Invoice Line dialog as below:
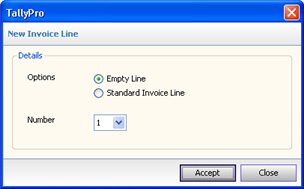
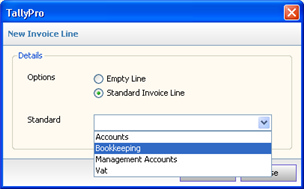
The user can either add up to 9 blank invoice lines, or select a Standard Invoice Line (Invoice Paragraph) from the drop down.
Once invoice lines have been added, the data can be edited - the memo can be changed, the hours and charge altered, and the VAT and Nominal codes either selected from drop downs populated with the respective codes from an external accounting system, or entered manually.
Invoice lines can be deleted by selecting a line and clicking the 'Delete Invoice Line' button.
If either the second (Allocate Costs To A Manual Invoice) or third (Populate Invoice With Allocated Costs) options had been selected on the Cost Allocation tab, the total cost to be allocated will be shown in the 'Allocated' field at the foot of the grid. As lines are added, deleted or amended, the 'Charge' field will automatically change and the difference will be shown as a 'Write Off'. Write Offs are covered in detail in the TallyPro help, but basically are used to decrease (or increase) the client / job work in progress value where invoicing is less (or more) than the allocated costs.
Once all invoice lines have been created and the totals are correct, the Next button should be clicked to move to the Invoice Production tab. Alternatively the Back button can be clicked to move back to the Cost Allocation tab.
